Trail navigation has been quietly transforming from a survival skill into a lost art. New hikers navigate with phones. Old hikers navigate with compass and map. The gap is growing. But when GPS fails (cold batteries, no signal, dropped phone), the ability to navigate with just map, compass, and terrain reading becomes the only thing keeping you from benightment.
I've been navigating in the backcountry for over a decade. The fundamentals haven't changed. The tools have evolved. What works today is a combination of old skills and new technology, plus the judgment to know when to use each.
Map Reading Fundamentals
Topographic maps show the three-dimensional world as contour lines, shading, and symbols. Reading them fluently takes months of practice. Reading them from cold - identifying terrain features, estimating elevation changes, following subtle clues - takes years.
Contour lines: each line represents an equal elevation. Closer lines = steeper terrain. Farther lines = flatter terrain. V-shape of lines with point going "up" = valley. V-shape with point going "down" = ridge.
Scale: a 1:25,000 map means 1 cm on the map = 25,000 cm (250m) in reality. 1:50,000 = 500m per cm. US Forest Service maps are usually 1:24,000 (close to 1:25,000). European IGN/OS maps are 1:25,000 or 1:50,000.
Map symbols: trails, streams, cliffs, specific features. Each map legend is different - study it before using the map. Forest service trail symbols differ from European trail symbols.
Essential map reading skills
- Identify contour features (valleys, ridges, peaks)
- Estimate elevation change over distance
- Match map symbols to actual terrain
- Calculate distance using map scale
- Read slope angle from contour spacing
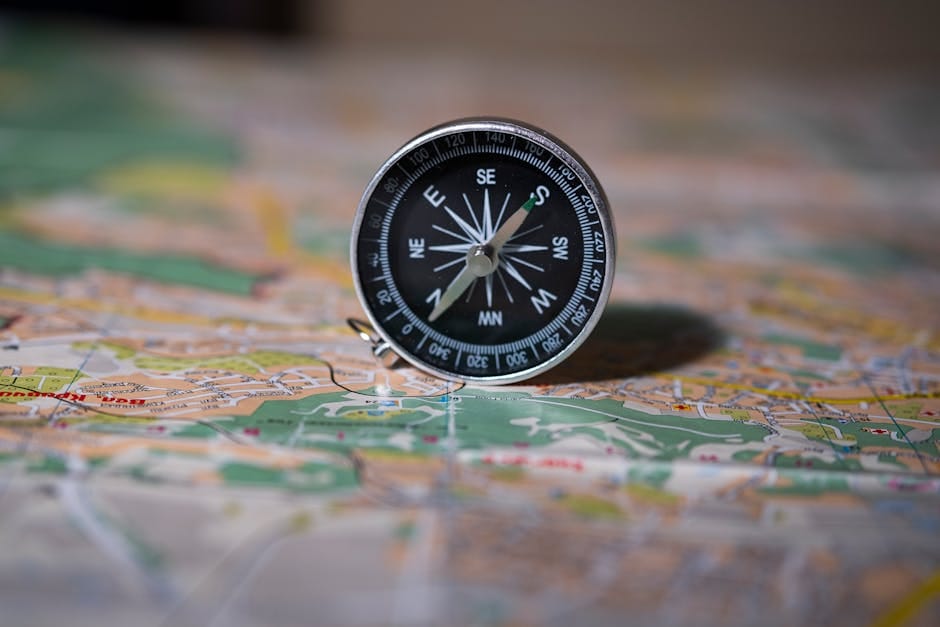
Compass Use
Compass isn't a replacement for map reading. It's a tool for specific techniques:
- Taking bearings between map features
- Following a bearing when visibility is limited
- Correcting navigation errors
The baseplate compass is the standard. Learn to use it in three contexts: static (identifying where you are), dynamic (moving on a bearing), and correction (finding errors in your current position).
Taking a bearing: align compass to the line between two points on the map. Rotate compass dial until north arrow points to magnetic north. Read bearing.
Following a bearing: hold compass flat, rotate body until north arrow points to N mark. Walk in the direction of the bearing indicator.
Magnetic declination: angle between true north and magnetic north. Varies by location (0-30+ degrees). Adjust for this before using your compass.
Compass drills
- Sight between identifiable landmarks
- Walk 100 meters on a specific bearing, note destination
- Back-sight to original position
- Practice under time pressure and poor visibility
Terrain Reading
Terrain reading is the skill of matching what you see to the map. Intermediate and advanced skill. Requires hundreds of hours of practice.
Key indicators:
- Streams - usually identifiable on both map and terrain
- Ridge lines - follow them, they show you direction
- Saddles/passes - natural connection points
- Cliff bands - impassable features often marked on map
- Tree line - elevation indicator
Exercise: at a known location, identify three terrain features visible to you. Match them to the map. Take 2-3 minutes. Repeat at each break or navigational decision point.
Cross-referencing: use multiple terrain features to pinpoint your location. If your stream confluence matches the map, your ridge line matches, and your elevation matches - you're confirmed.
GPS as Tool, Not Crutch
GPS removes uncertainty from navigation. You know where you are. But relying on GPS creates problems:
- Phone batteries die in cold
- Signal drops in canyons or dense forest
- Devices break or get dropped
- You lose the skill of terrain reading
Best practice: use GPS to confirm navigation but don't depend on it. Before departure: download maps offline. During hiking: check position occasionally, but navigate primarily with terrain and compass. When lost: use GPS to re-locate.
If you navigate only with GPS, you lose the ability to understand where you are. When GPS fails, you have no backup. Map and compass skills are your redundancy.
Common Navigation Scenarios
Scenario 1: Following a well-marked trail. Navigation is minimal - follow the blazes. But check progress periodically. Elevation gain matches the map? Distance covered matches? If no, you may have taken a wrong turn.
Scenario 2: Off-trail navigation. Steady bearing, terrain reading, regular position checks. Pace count for distance (1,000m = 130-150 steps for average person).
Scenario 3: Whiteout/zero visibility. You can't see landmarks. Use compass exclusively. Walk in carefully measured distances between positions. Don't assume you can navigate without tools in poor visibility.
Scenario 4: Lost. Stop moving. Take out map. Identify last known position. Look at the terrain around you - what do you see? Match to the map. Take 10-15 minutes to re-orient.
Night Navigation
Harder than day navigation. Limited visibility to terrain features. Headlamp light can disorient.
Strategies:
- Use streams, ridges, roads as natural navigation features
- Follow a bearing carefully between known points
- Take compass readings more frequently (every few minutes)
- Carry a backup light and spare batteries
Night navigation is a skill worth practicing. Do occasional night hikes in familiar terrain to build comfort.
Weather and Navigation
Low clouds or fog: terrain features invisible, navigation harder. Consider route alternatives or wait for weather window.
Storm: rain can soak maps. Use waterproof map cases or treated paper maps.
Wind: above alpine, wind can literally push you off bearing. Compensate by leaning into wind.
Know when to turn around: if conditions deteriorate faster than forecast, if terrain becomes impassable, if you lose visual reference. Pride doesn't navigate. Retreat, assess, try again.
Training Your Skills
Regular practice: find a local trail network. Navigate with just map and compass occasionally. Compare to what you'd do with GPS.
Orienteering events: formal navigation sport. Perfect for building skills quickly. Most countries have orienteering clubs with regular events.
Mountain courses: outdoor leadership schools offer wilderness navigation courses (NOLS, Outward Bound, Appalachian Mountain Club). 3-7 day courses cost $300-1,500.
Books: "Staying Found" by June Fleming, "The Essential Wilderness Navigator" by David Seidman. Classic texts still relevant.
Technology Integration
Modern approach: combine map/compass with GPS.
- Phone with Gaia GPS or Caltopo for detailed maps and GPS tracking
- Paper map as backup
- Compass for specific techniques
- Watch (Garmin Fenix, Apple Watch Ultra) for quick reference
The key: know how to use each when others fail. Your phone dies - you have the paper map. Paper map gets wet - you have GPS on watch. Watch dies - you have compass and terrain reading.
Final Advice
Navigation skills aren't learned on YouTube. They're learned by doing, in real terrain, with real consequences.
Start in familiar areas. Build confidence. Extend your skill to new terrain. Make mistakes that don't become dangerous.
Eventually, navigation becomes second nature. You'll look at a landscape and read it like you read a book. You'll know where you are without consciously thinking about it. This skill is worth the investment. It makes the backcountry safer, more accessible, and more interesting.